Make a costume for the family pet + Download the FREE templates!

We have a fun blog post from contributor Jessie. We can’t let the humans have all the fun, whip up a super cute doggie costume for Halloween this year and see your treats double!
Be sure to check out all the Sew News freebies from current and past issues.
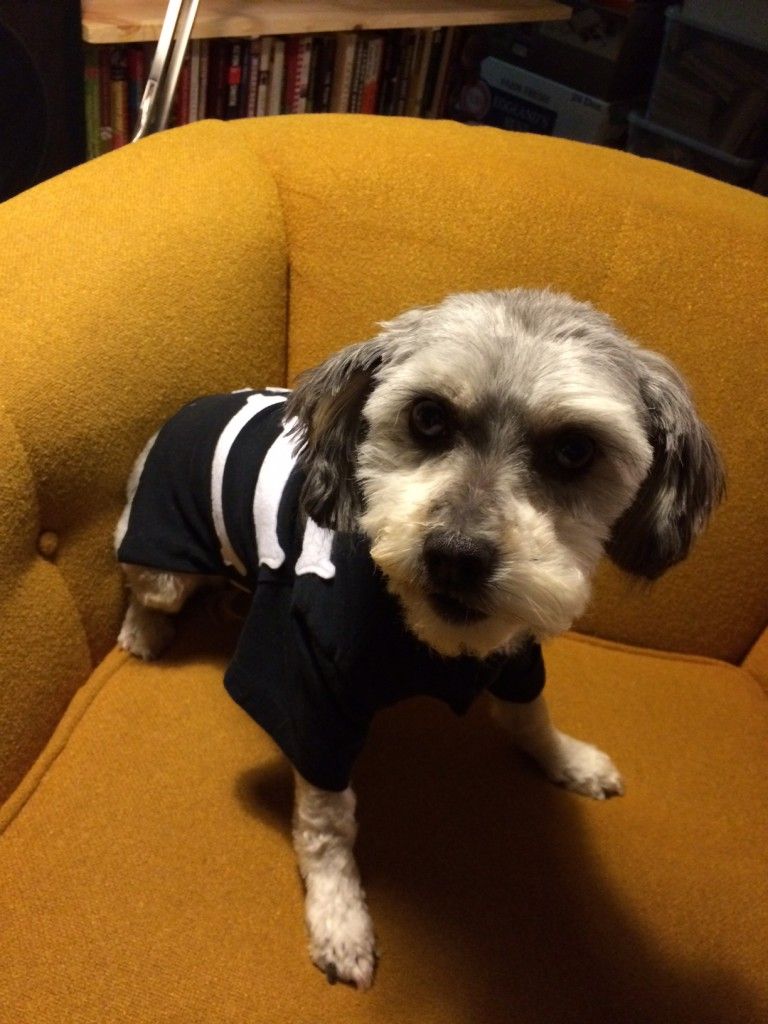
Make an easy dog costume!Don’t leave your best friend out of the fun on Halloween night. Stitch up a quick and fun skeleton costume out of an old T-shirt and felt and send Fido out to haunt the night.
Supplies
- 1 Black T-shirt {size determined by dog}
- One 8 1/2”x11” piece of white craft felt
- One 3/4” piece of 5/8” sew on hook-and-loop tape
- Coordinating all-purpose thread
- Temporary spray adhesive
- Newspaper
- Tailor’s chalk (optional)
Measure Your Mutt
To find a shirt that will fit your dog, measure the circumference of your dog’s neck and the length of his/her back. Compare the neck measurement to the collar of an old T-shirt. The ideal shirt will have a collar that fit’s the neck measurement and the shirt’s length will fall long enough to be trimmed to your dog’s back length. Don’t fret if you can’t find a shirt to meet these specifics, seek out a shirt that’s a little too large and sew it to size. For this skeleton costume a black shirt works best.
Try the shirt on your dog, pull the collar to fit your dog’s neck mark with chalk or very carefully with a pin.
Mark just before the hind legs of your dog to indicate where the shirt’s lower edge should fall. The shirt shouldn’t hinder the dog’s ability to walk, cutting it before the hind legs will keep your pup trotting happily.
Pull any excess fabric in the chest and body area together, mark.
Carefully remove the shirt from the dog.
Start Cutting
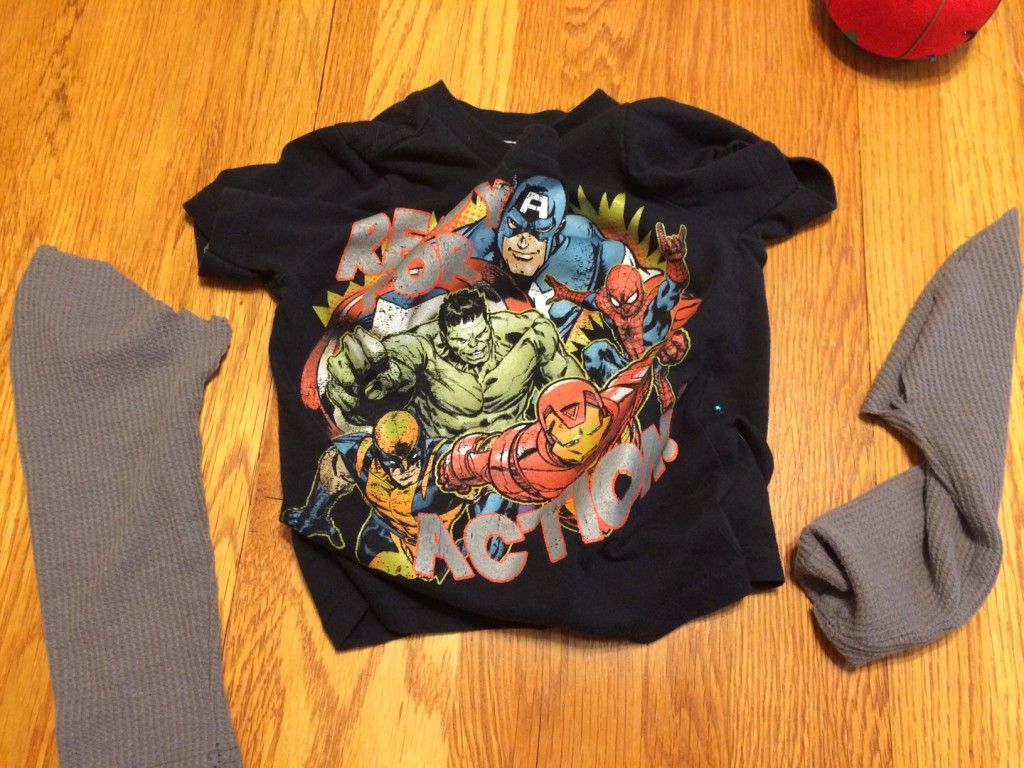
Begin by removing any unnecessary shirt parts such as long sleeves.
The shirt I found had a large image on the front that I didn’t want, so I cut it off. By doing so, I also created an open chest area that I completed with closure bones and was able to fit the shirt to my dog better. If the shirt you’re working with is plain black and isn’t too big for your dog, you may not need to cut the shirt front out. Though, it will be easier to sew the bones onto the shirt back should you elect to cut open the front.

Place the shirt on a work surface with the collar flattened. Measure 1/2” from the collar mark or pin, mark.
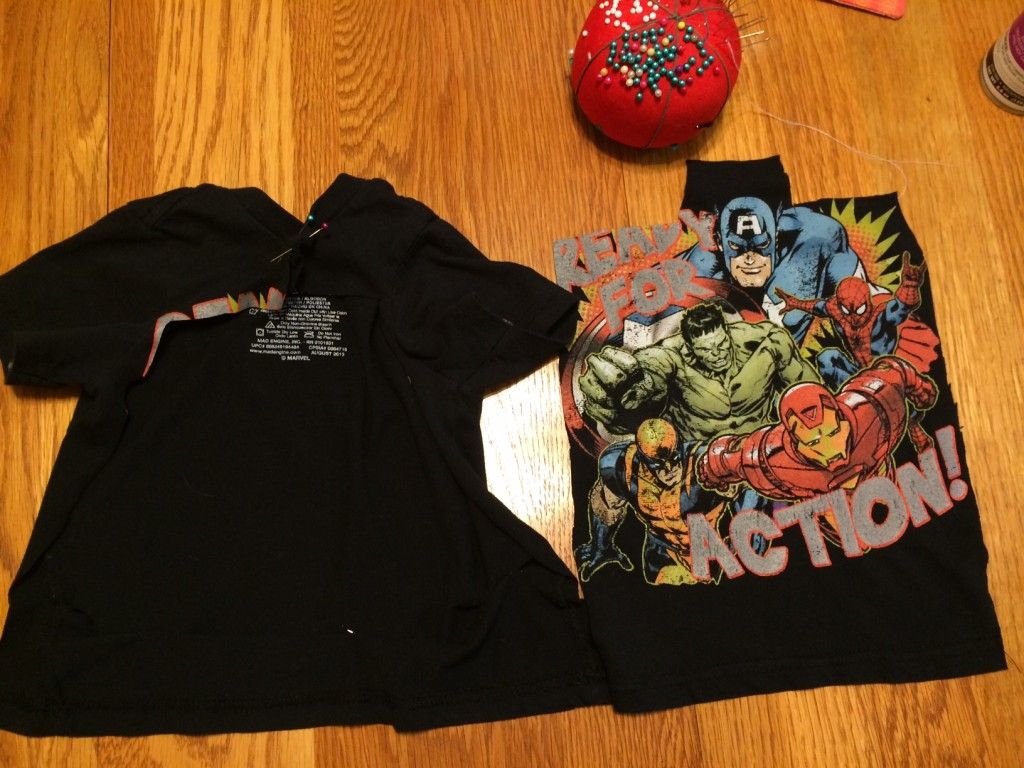
Cut along the mark 2” into the shirt’s body. Proceed to remove the excess shirt in the chest area, adding 1/2” seam allowance to the original marks.
If you would like to create an open chest with bone closures, remove up to 2 1/2” additional between the sleeve seams and 3 1/2” additional in the remaining T-shirt body.
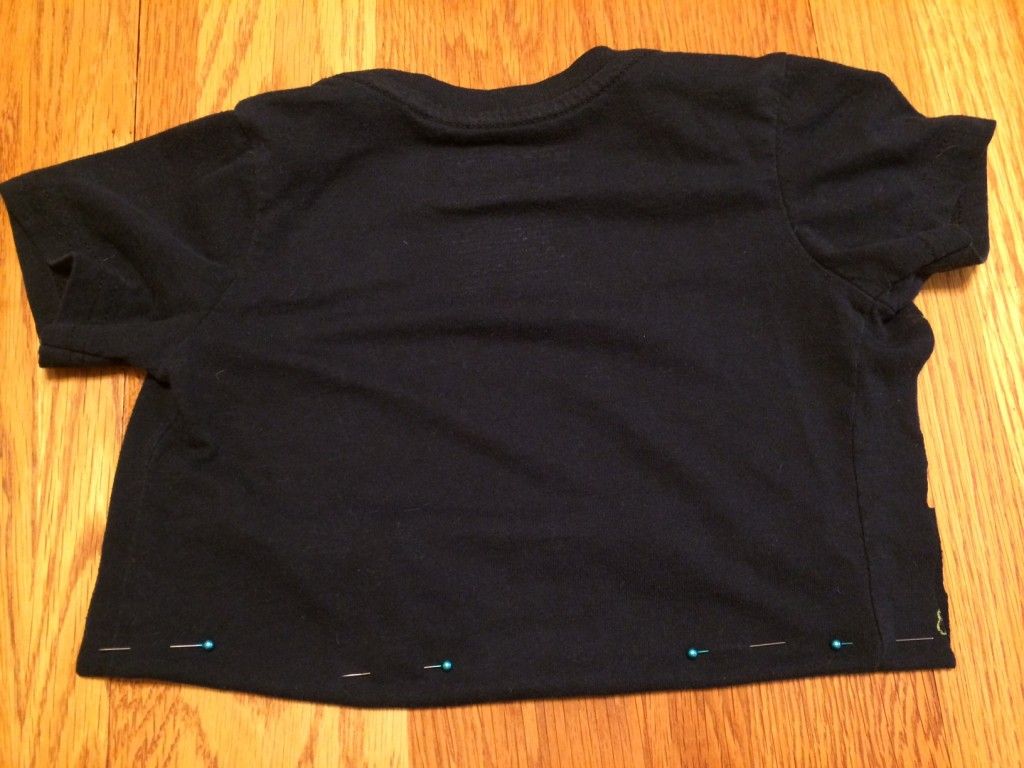
Lay the shirt flat on a work surface, measure across the shirt’s lower edge, making sure your original marks are an even line. Trim 1/4” from the original marks to allow the fabric to roll up. If you prefer to hem the lower edge, cut 1/2” from the original marks.
Bone Business
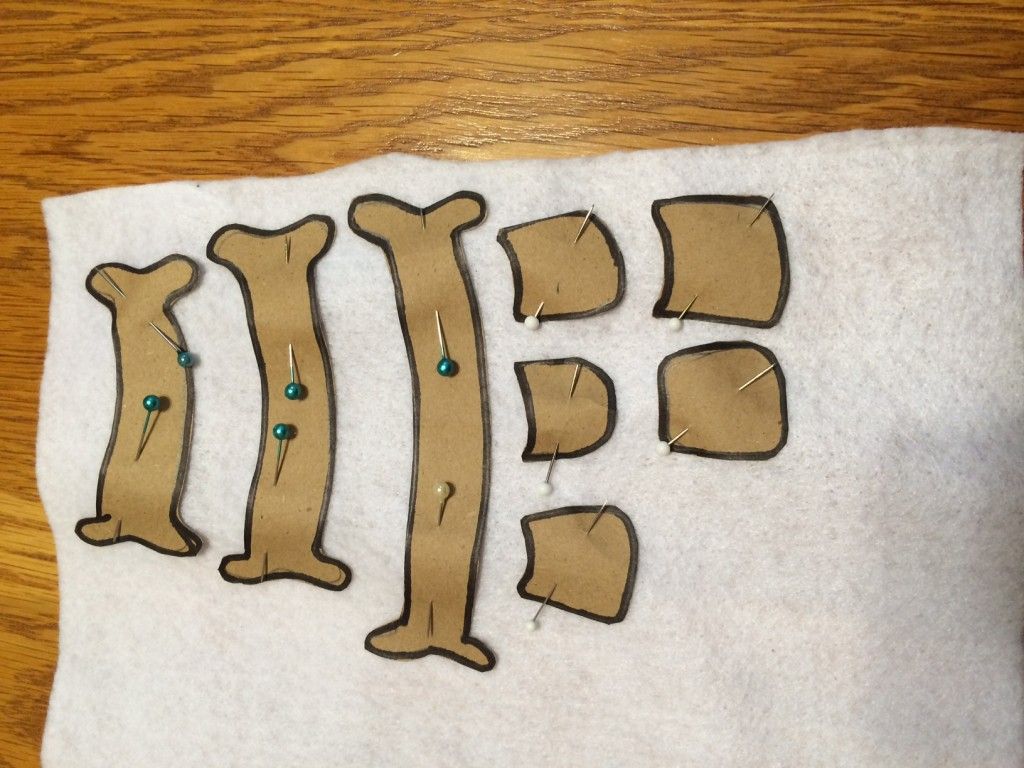
Download the Dog Skeleton Template and print. Increase or decrease the template’s size to fit the size of your dog. Consider adding more ribs if your dog is larger, or even draw up a pelvis to add into the bone mix. Cut out all dog bones from the white felt.
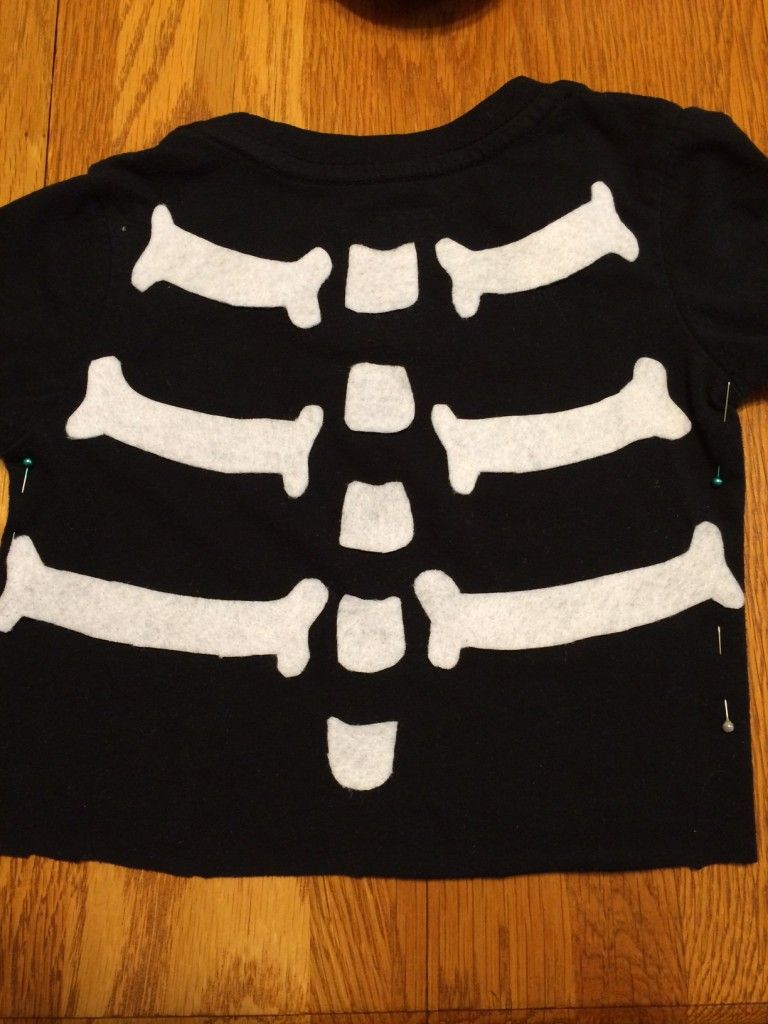
Lay the bones out on the T-shirt as indicated in the image above. Snap a quick picture to recall the layout. Spread newspaper over the work surface. Flip the bones over and place on the newspaper. Following the manufacturer’s instruction’s spray the bones with temporary spray adhesive. Return the bones to the shirt, referring to the photo for placement guidelines.
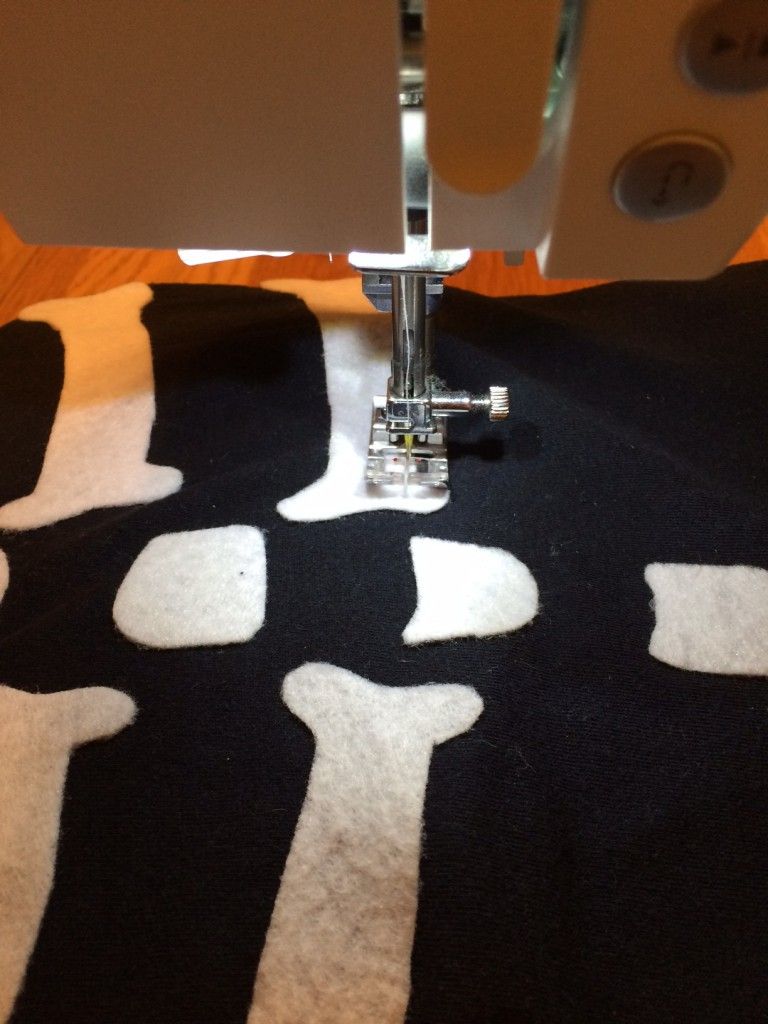
Stitch the bones to the shirt using a straight stitch.
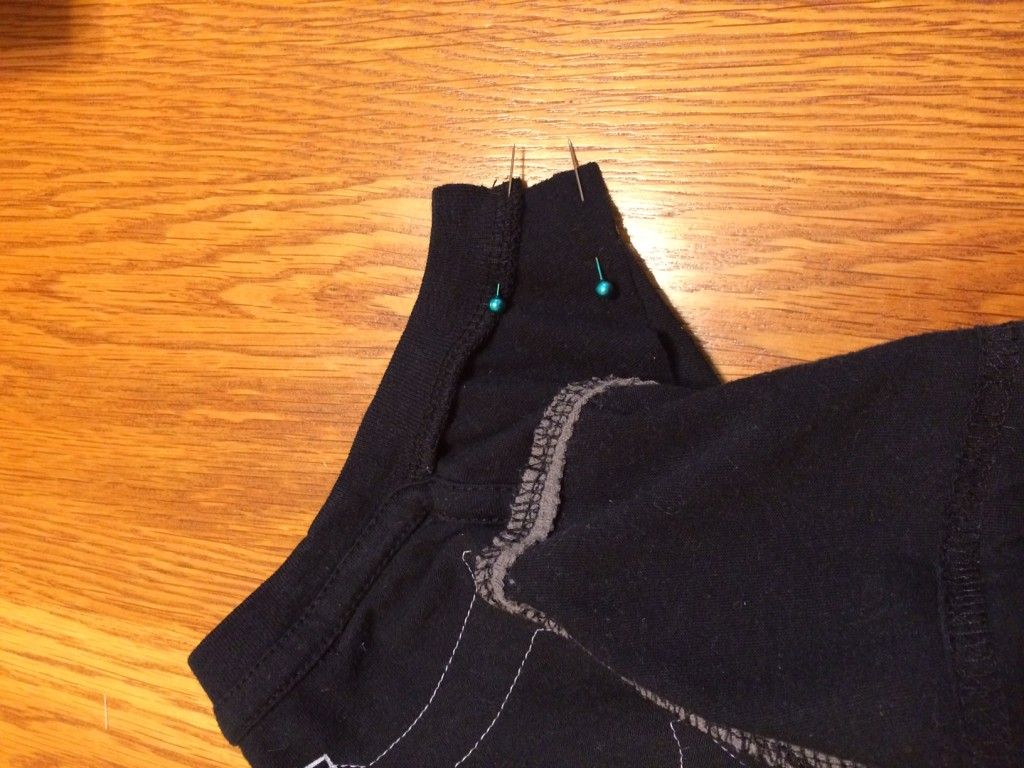
Using a 1/2” seam allowance, sew the collar right sides together. Press the seam open. If you prefer to not create a bone closure, sew down the shirt front’s length.
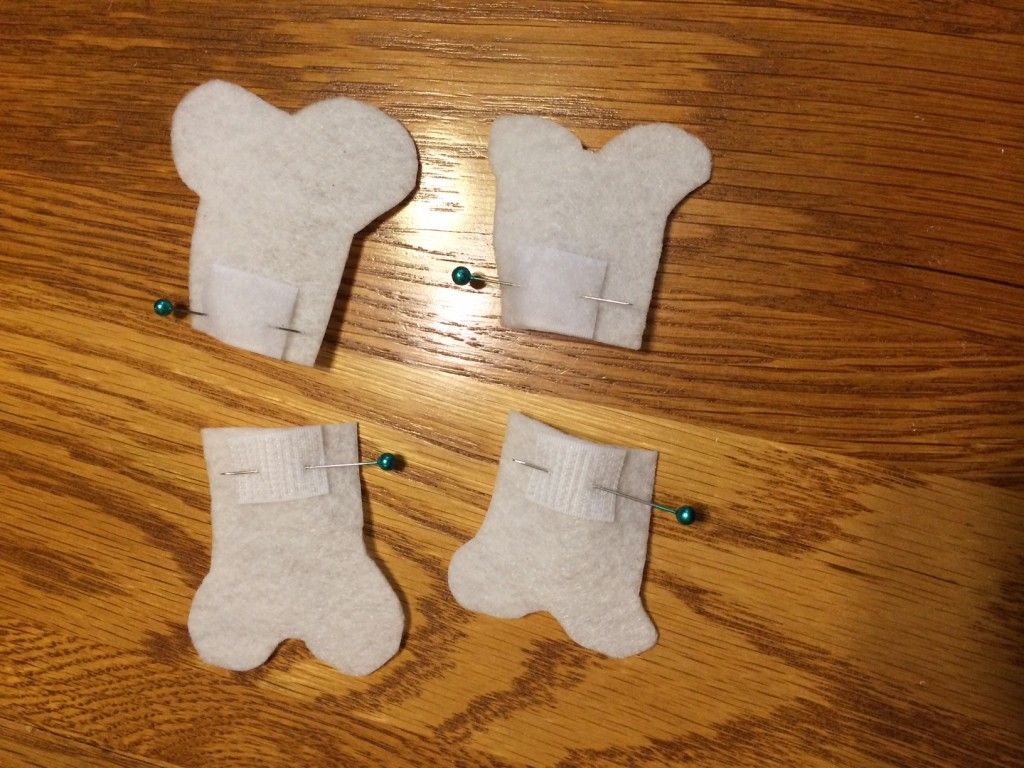
Pin the hook-and-loop tape to the closure bones’ straight edges. The smaller bone will close the space between the sleeve seams and the larger bone will close the chest. Stitch the hook-and-loop tape to the bones.

Pin the smaller bone to the sleeve seams, allowing for 1/2” overlap of T-shirt fabric and felt. Stitch the bone to the shirt using a straight stitch. Proceed to stitch the opposite bone, aligning the hook-and-loop tape to ensure that the pieces will meet up nicely. Attach the second bone closure 2” below the first.
Hem the T-shirt lower edge if you want, though the knit won’t unravel and should roll up just a bit.
Upload pictures of your pooch all dressed up for Halloween to the Sew News Reader Flickr group. We’d love to see what you’re stitching!


Join the Conversation!