Quick & Easy Halloween Costume Using Freezer Paper
It’s not too late to make a great costume! Freezer paper stencils, fabric paint and a little ingenuity are all you need to put together a quick and fun Halloween outfit.
Freezer paper stencils are easy to make and can spice up a T-shirt easily. Use glow-in-the-dark paint to add a ghost to a shirt and you’ll be the smash of the party lights on or off. Create a stencil to mimic a super hero’s costume and you’re ready to step out as a caped crusader. All you need is a little stencil know-how.
Freezer Paper 101
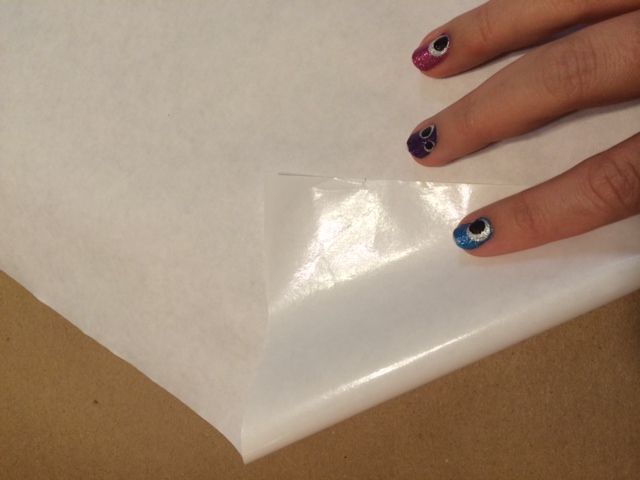
Freezer paper has two sides, a shiny side coated with wax and a paper side. The shiny side will adhere to the fabric when heat is applied. Draw designs on the paper side; lettering won’t need to be reversed.
Adhere the freezer paper to a shirt or other fabric using a hot dry iron. Don’t run the iron across the freezer paper, press and hold for 10 seconds before moving on to another section. Be sure to press the edges of the stencil where the paint will be applied twice to ensure they set correctly.
To create a costume in a jiffy seek out fabric paint that dries in just a few hours. Check paint labels to confirm drying time and fabric prep.
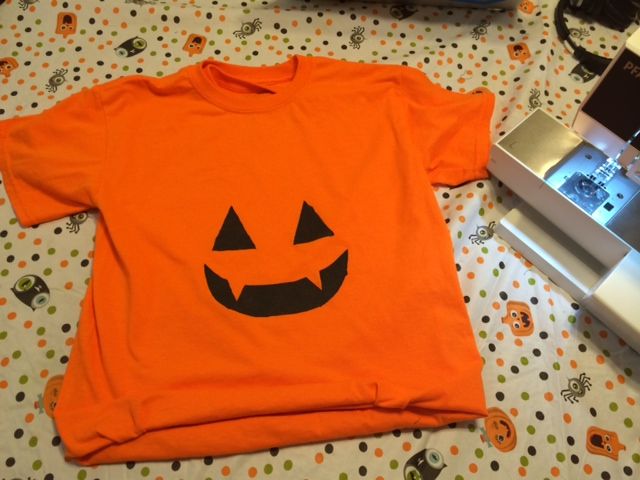
Pumpkin T-Shirt Costume
Supplies:
- One T-shirt in your size
- One T-shirt two (or more) sizes larger
- Freezer paper
- Fabric paint
- Foam brush or bristled paint brush
- Coordinating thread
- Newspaper
Stencil Time
Cut a piece of freezer paper to span the width of the smaller shirt’s chest, place it shiny side down on your work surface.
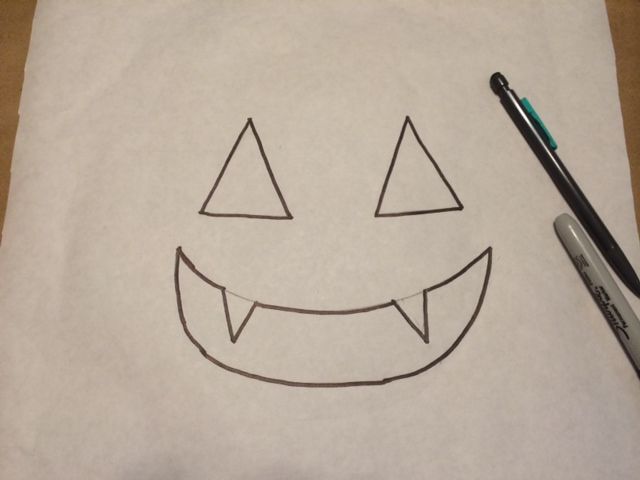
Draw out a pumpkin face. Much like when carving a pumpkin, the portions of the freezer paper you remove will be black. Remember to draw your design planning for paint to appear wherever you draw openings. Cut out the stencil and place it on the larger shirt.
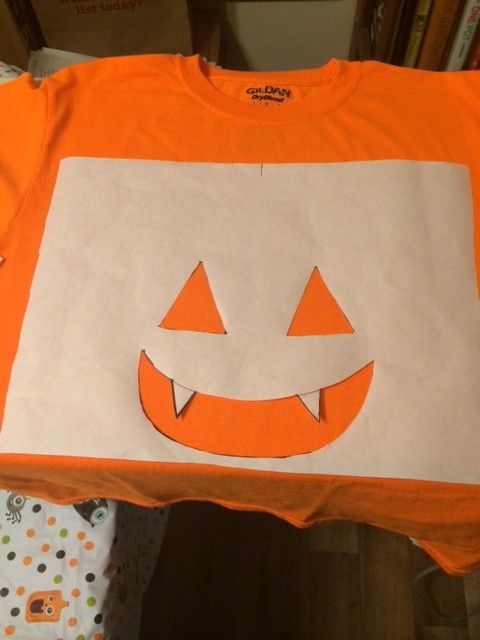
Measure the stencil’s upper edge and mark the center. Line this mark up with the center of the larger shirt’s collar. Place the stencil about halfway down the shirt.
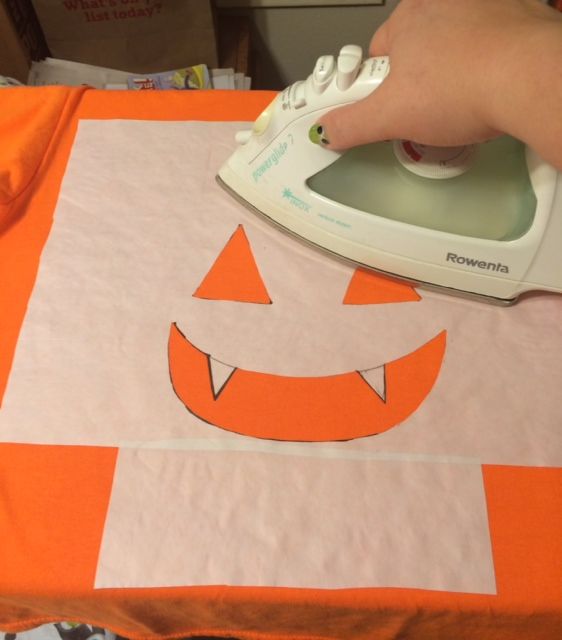
Once the stencil is in place, heat the iron to high heat and turn off the steam function. I cut out my stencil with very little room on the lower edge. I added a layer of freezer paper to help keep the paint from getting on the shirt. Press the stencil onto the shirt by placing the iron down, holding it for 10 seconds and then picking the iron up and pressing it down again in a different spot. Don’t run the iron across the stencil as this may cause bubbles to form or the stencil to shift. Allow the fabric to cool.

Place a piece of cardboard under the stencil, between the shirt front and back layers. This will keep the paint from bleeding through to the shirt’s back. Squeeze a bit of paint onto a paper plate. Carefully paint the stencil’s open areas. Don’t glob the paint on unless you want an uneven finish to your shirt. Bear in mind, the thicker the paint the longer it will take to dry. Allow the paint to dry completely.
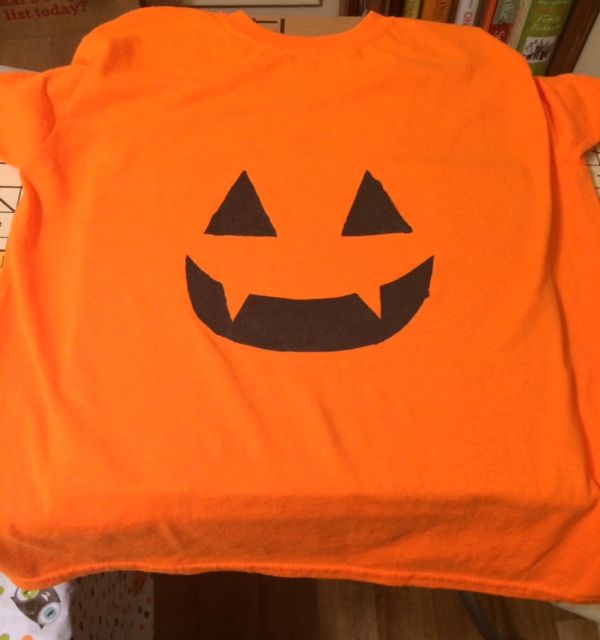
Carefully peel the freezer paper from the shirt. The stencil should keep the paint from bleeding through the edges. However, if this did occur, use a small paint brush and a wee bit of paint to smooth out any sloppy lines. Allow the new paint to dry.
Sew That Pumpkin
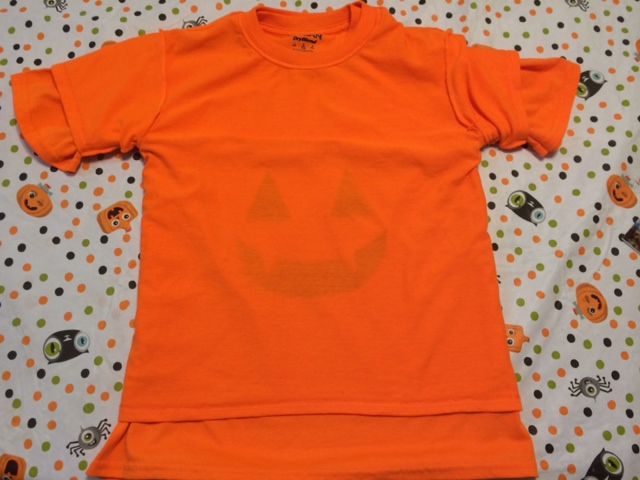
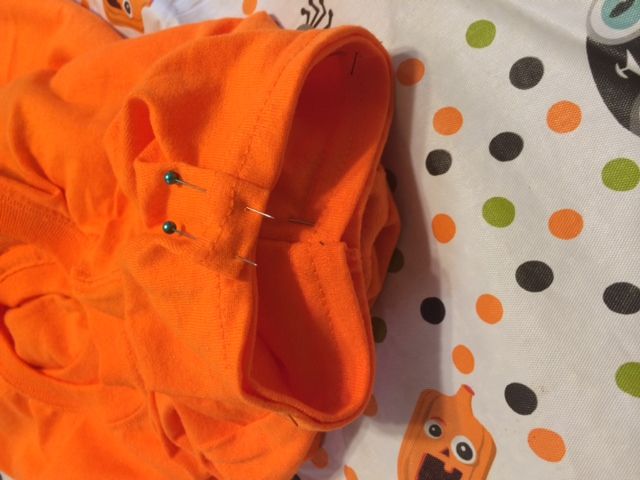
Place the larger shirt inside the smaller shirt. The larger shirt’s right side should be touching the smaller shirt’s wrong side. Align the collar and shoulder seams. Smooth out the back of the larger shirt along the smaller shirt’s hem, pinning the two hems together as you go. By doing so, you will push all the excess fabric to the shirt’s front.
To fold the excess fabric into the smaller shirt’s hem, create two box pleats using the larger shirt’s excess fabric. Pin the pleats as though you’re making inverted pleats, once turned right side out a box pleat will form. Place the box pleats to either side of the stencil. Stitch along the shirt’s hem.
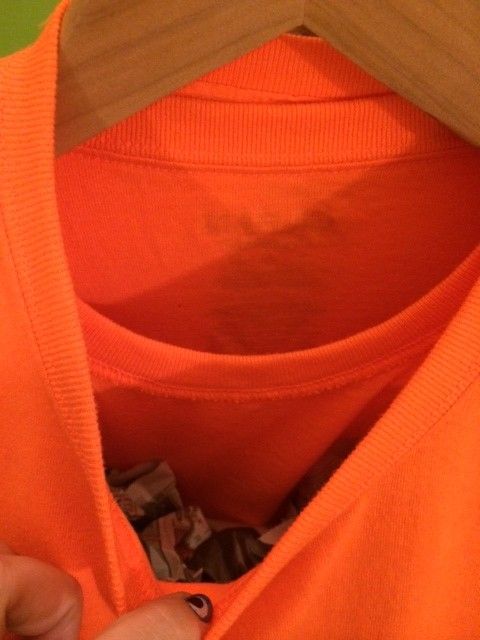
Turn the shirts right side out, tucking the smaller shirt inside the larger shirt. Align the collars and shoulder seams.
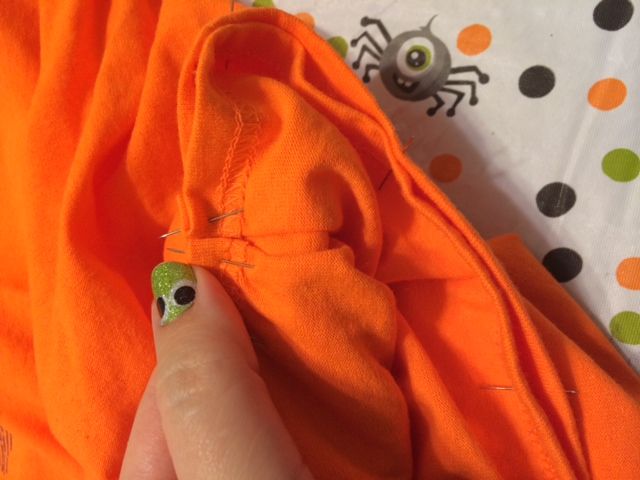
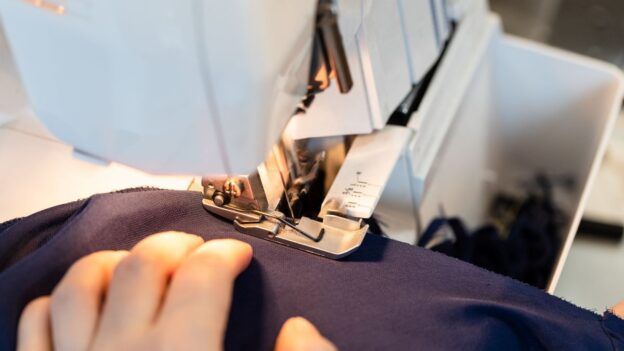
Pin the two sleeve seams together and create a box pleat on the sleeve upper edge. Stitch around the sleeve’s lower edge. Repeat to finish the remaining sleeve.
Stuff wadded up newspaper between the two shirts and into the sleeves. Stuff until the pumpkin reaches your ideal roundness. Wear this pumpkin shirt with black or green leggings for a fun night out trick-or-treating.

Besides the time waiting for the paint to dry, this project should only require an hour to complete. So what are you waiting for? Grab some freezer paper and get to stitching!
Be sure to send your costume sewing project pictures to the Sew News Flickr group. We’d love to see what you’re making this year!
Be sure to check out Sew News for more fun projects, tips and great contributors!


Join the Conversation!