Dorm DIY: Fabric Organizers

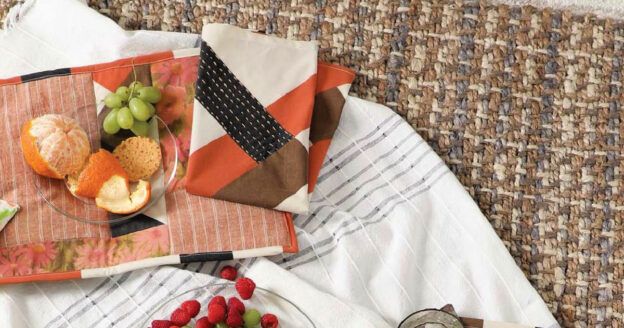
Storage is super important when you’re moving into a small dorm room. Why not make a few coordinating organizers to hide your unmentionables, store nonperishable food, keep mail and magazines tidy or hold shower essentials? These organizers nest together, and each one is easily carried by its sturdy rope handles.
SUPPLIES
Supplies listed are enough to make three nesting organizers, as shown.
- 2/3 yard each of coordinating print canvas fabric (A&B)
- 1/4 yard of coordinating print canvas fabric (C)
- 1 1/2 yards each of heavyweight solid home-decor & lightweight solid cotton fabric
- 1 3/4 yards of double-sided stiff fusible interfacing
- 2 1/2 yards of 1/2″-diameter rope
- 1/4″-wide double-sided fusible web tape
- Twelve 7/16″-diameter eyelets & eyelet setting tool
- matching all-purpose thread
- removable fabric marker
CUT
- From fabric A and the cotton fabric, cut one 21″x25″ rectangle. From fabric B and the cotton fabric, cut one 19″x23″ rectangle each. From fabric C and the cotton fabric, cut one 17″x21″ rectangle each. Cut a 5″ square away from tach rectangle corner.

- From the home-decor fabric, cut one 20″x24″ rectangle, one 18″x22″ rectangle and one 16″x20″ rectangle. Cut a 4 1/2″ square away from each rectangle corner.
- From the interfacing, cut one 7″x11″ rectangle for the small-container base, teo 5″x7″ rectangles for the small-container short sides and two 5″x11″ rectangles for the small-container long sides. Cut one 9″x13″ rectangle for the medium-container base, two 5″x9″ rectangles for the medium-container short sides and two 5″x13″ rectangles for the medium-container long sides. Cut one 11″x15″ rectangle for the large container base, two 5″x11″ rectangles for the large-container short sides and two 5″x15″ rectangles for the large-container long sides.
- From the rope, cut six 15″ lengths.
SEW
Use 1/2″ seam allowances.
- Position the fabric-A piece wrong side up on a flat pressing surface. Position the large interfacing base over the fabric-A center.

- Position the corresponding short- and long-side interfacing rectangles over the fabric-A short and long sides, aligning the edges.
- Position the large cotton piece right side up over the interfacing pieces, aligning the perimeter edges. Fuse the cotton fabric to the interfacing, following the manufacturer’s instructions. Carefully flip over the layers, and then fuse to secure fabric A to the interfacing.
- With right sides together, align two adjacent short edges; pin. Stitch, backstitching twice at the folded lower corner.

- Repeat to stitch the remaining three corners. Press open each seam, creating the large outer container.
- Repeat to stitch the large home-decor piece, creating the large lining.
- Press the large outer-container upper edge 1/2″ toward the wrong side. Turn the container right side out. Press the lining upper edge 3/4″ toward the wrong side.
- Adhere the fusible web tape to the lining upper edge near the fold. Remove the paper backing.
- Insert the lining into the large container with wrong sides together, aligning the seams. Position the lining upper edge 1/4″ from the large outer-container upper edge. Fuse the lining to the container along the upper-edge folds. Topstitch 1/2″ from the container upper edge.
FINISH
- Using a removable fabric marker, draw a dotted line along the short-side center. Measure 1 1/2″ from the upper edge and 2″ on each side of the centerline; mark.

- Attach an eyelet at each mark, following the manufacturer’s instructions. Repeat to attach two eyelets to the opposite short side.
- Insert one rope end through one eyelet from the right side; knot the end on the inside. Insert the opposite rope end into the adjacent eyelet; knot the end. Repeat to attach another rope handle to the opposite side.
- Repeat to construct the medium and small container. Measure 1 3/4″ from the centerline for the medium container eyelet placements and 1 1/2″ from the centerline for the small container eyelet placements.
Fabric by Cloud9 Fabrics.
For more easy sewing tutorials, check out Sew it All Volume 11, on newsstands and at shopsewitall.com on Aug 29!


Join the Conversation!